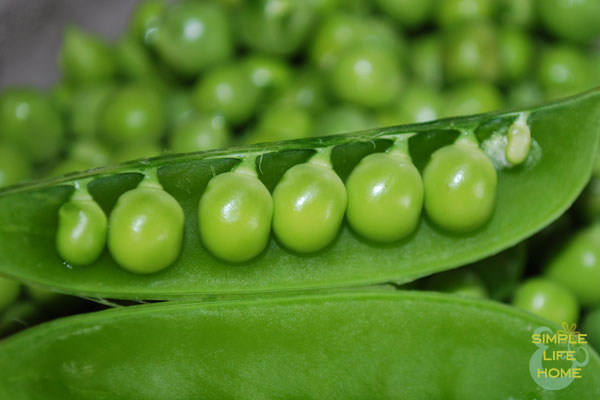
I am so, so, so, so, soooo excited! After years of unsuccessful attempts to grow enough peas to save for the winter (you can read this sad saga here and here!), I finally have a bountiful pea harvest. Well, bountiful might be overstating it a bit, but at least I have enough of a harvest to illustrate how to freeze garden-fresh peas…and put a few quarts in the freezer in the process!
In my opinion, there really is no other way to save your peas. Canned peas are just so yucky! The canning process takes out everything I love about garden-fresh peas…the color, the texture, the taste…and turns them into yucky green mush that smells like baby food. Ugh! (Begging your pardon if you like canned peas, but for me, freezing is the only way to go.)
If you are lucky enough to have a nice pea crop and want to save it in your freezer, the good news is that knowing how to freeze garden-fresh peas couldn’t be easier.
Step 1: Pick the peas. You should always start with fresh-picked peas. The peas should be round and full inside the pod. Shell the peas into a bowl.
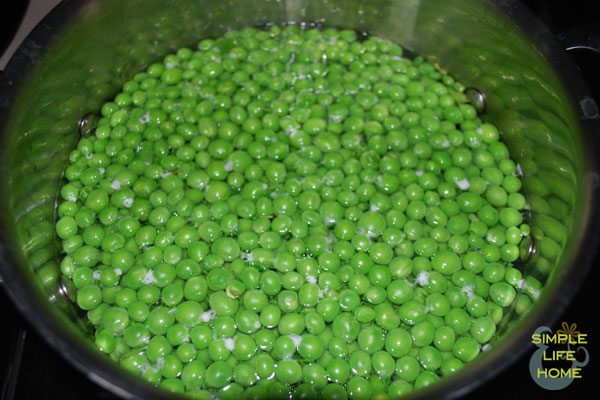
Step 2: Boil (blanch) the peas. While you are shelling the peas, set a pot of water to boil on the stove. I still don’t get more than a couple of quarts per harvest, so I can use a sauce pan. Others with more peas may need to pull out a stock pot. Lucky you! 🙂 Why boil? Because the enzymes that naturally occur in fruits and vegetables can break down the nutrients over time. Blanching stops that process…and kills any unwanted bacteria in the process. You’ll want to blanch (boil) your peas for 90 seconds.
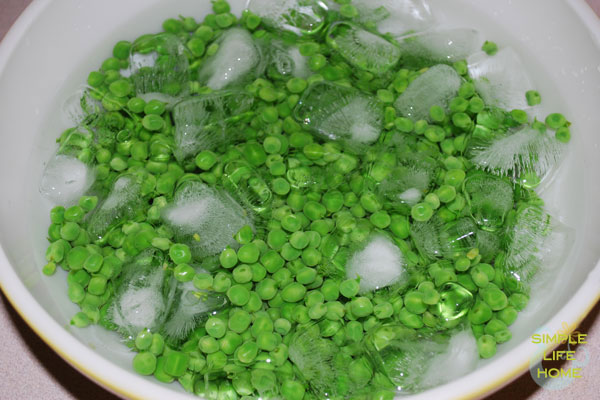
Step 3: Cool the peas. While you’re boiling the peas, fill a large bowl with ice cubes. At the end of the blanching time, fill this bowl halfway with water.
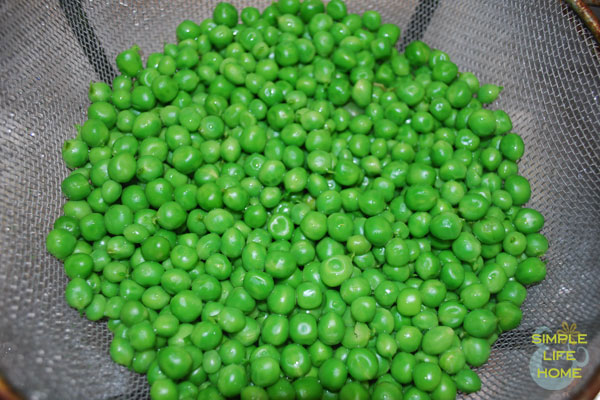
Drain the blanched peas and run them under cool water for a couple of seconds, then dump the peas into the ice water to stop the cooking process and keep them fresh. As a general rule, you cool for the same amount of time you blanch.
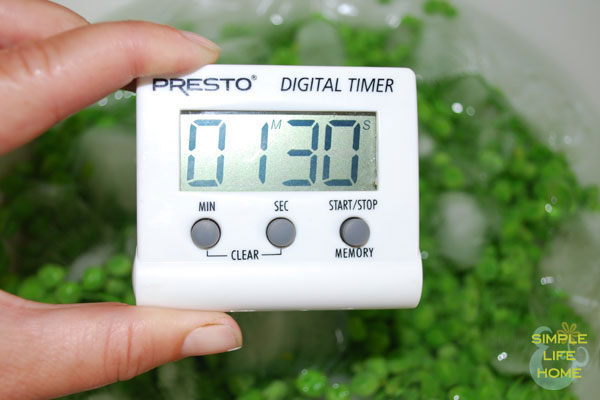
In our case, that’s 90 seconds.
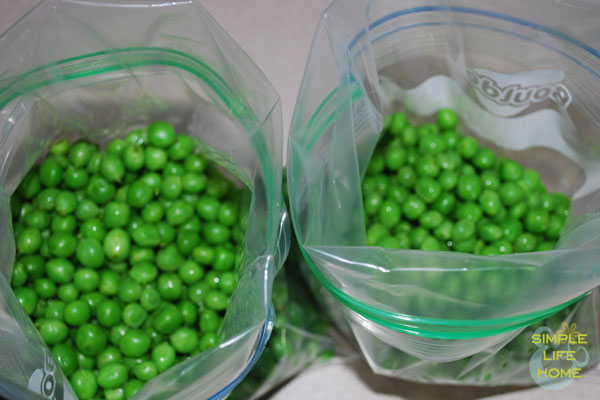
Step 4: Bag the peas. I like to freeze my peas in quart-sized freezer bags. They lay flat in the freezer, and it’s easy to take out just what I need without thawing an entire bag if I don’t want to. When filling the bags, I always start by turning down the top of the bag. This makes it easier to keep the bag open, but it’s certainly not necessary! 🙂 Fill the bag ½ to ¾ full of peas.
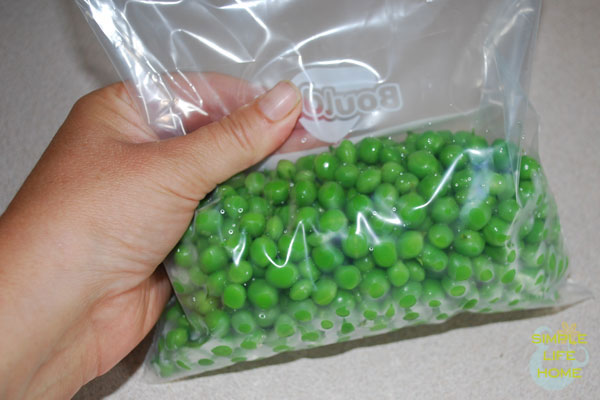
Next, you want to get as much air as possible out of the bag. I do this by standing up the bag and letting the peas settle in the lower portion. Then I fold the top of the bag over, working out the air, and zip it closed.
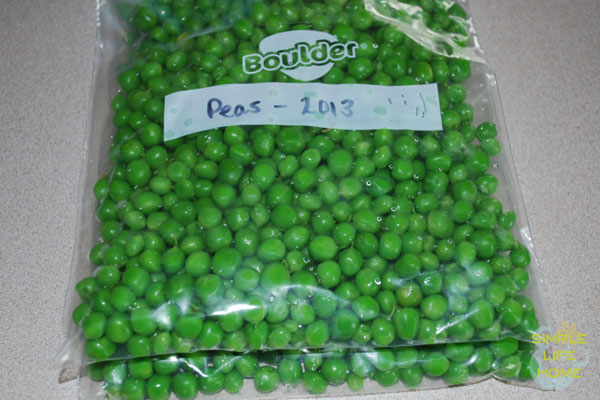
Simply move the peas around in the bag until it will lie flat in the freezer; mark the bag with “peas” and the year, and you’re done. Lay the bags flat, one on top of the other, in the freezer, and you’re ready to enjoy that pea harvest all year long!
