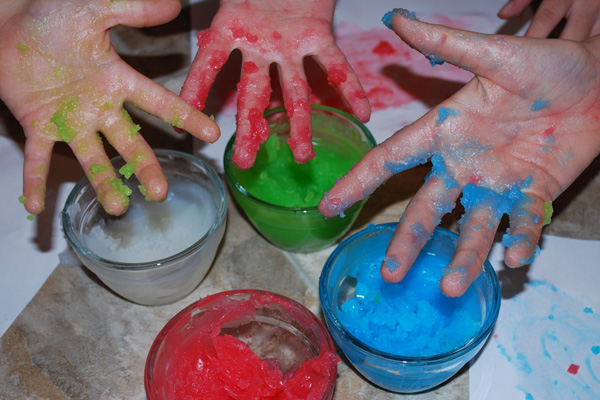
You’ll never believe it, but in the middle of the chaos of our recent move, my kids and I made some homemade finger paints today. (Sometimes I just can’t help myself!) I guess kids who have traded their favorite climbing trees and hideout spots on a rural property for a small, temporary apartment should get to have fun at some point along the way!

Since most of our art supplies are tucked away in a storage container somewhere nearby (we were never planning to need the transitional housing this long!), we had to make our finger paints from scratch.
Making the paints turned out to be a fun project all by itself, and the whole process took about 10 minutes from start to finish. Cheap, easy, AND fun. Now that’s my idea of a great kid project on a rainy afternoon!

All you need to make your own set of homemade finger paints is some cornstarch, sugar, salt, water, and food coloring. Easy peasy. In fact, that’s the name of the site where I found the recipe. Fitting, don’t you think? Here’s how it works:
Ingredients:
3 Tbs. sugar
½ tsp. salt
½ cup cornstarch
2 cups water
Food coloring
Instructions:

1. Mix the dry ingredients together in a medium-sized saucepan.

2. Add the water, stirring constantly, and heat over medium-high heat until the mixture thickens into a paste, about 3 – 5 minutes.

3. Pour the paste into separate containers (recycled baby food jars, jelly jars, or any other small glass container will be fine) and let cool.

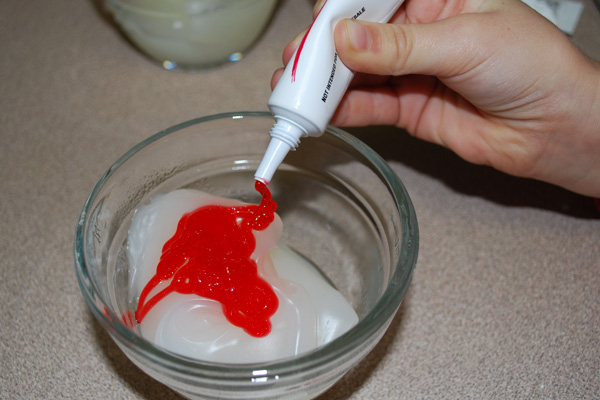
4. Add the food coloring, one color per jar, and mix well.

(We used glitter gel, since that’s what we had on hand. It made the finished projects all sparkly. Cool!)

Plan to use an entire tube of food color per jar of finger paint. You’re going for vibrant colors, here.

5. Grab a handful of paint, spread it all over a blank piece of paper, and make a mess…

…I mean, art! Enjoy!
